| Previous :: Next Topic |
| Author |
Message |
Eric Gilbertson
Member


Joined: 04 Jul 2018
Posts: 188 | TRs | Pics
Location: Seattle |
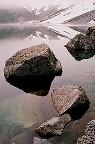
Buckner Mountain (9,112 ft) Theodolite Survey, Lick of Flame (8,400ft) First Ascent via West Face, Horseshoe Peak (8,480ft)
Oct 1, 2022, 1am 10pm
21 miles, 8,200ft gain
Eric, Steven, Talon
Summary of results: Buckner SW summit is 18.9 +/-3.5 inches taller than NE summit.
Buckner Mountain was my final Bulger peak back in 2018 and Ive been very intersted in it recently. The mountain has two peaks of nearly equal height and up until now, in my view, they have not been surveyed carefully enough to definitively determine which is the highest of the two peaks. This is significant for many reasons. People climbing the Bulgers want to be certain they climbed the correct peak. County highpointers want to know so they can visit the true highpoint of Skagit County. And, in general, since Buckner is one of the few 9,000 footers in Washington it is great to know exactly where its summit is.
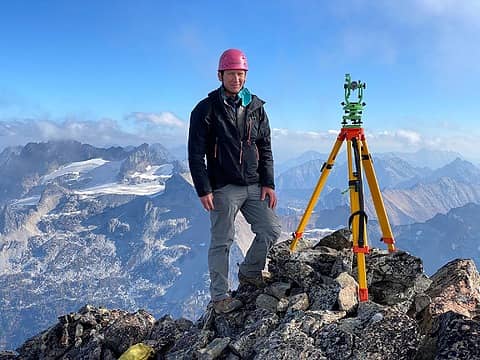 On the NE summit of Buckner with the theodolite (photo by Steven) 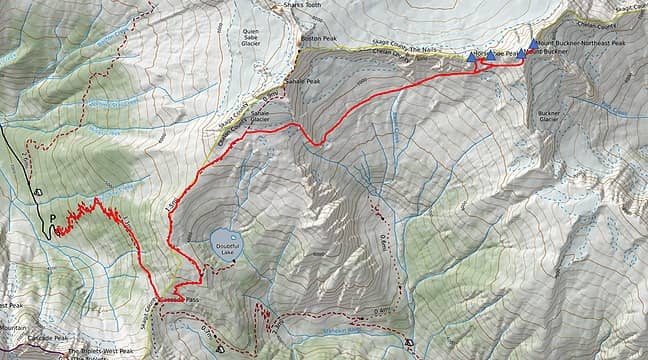 The route 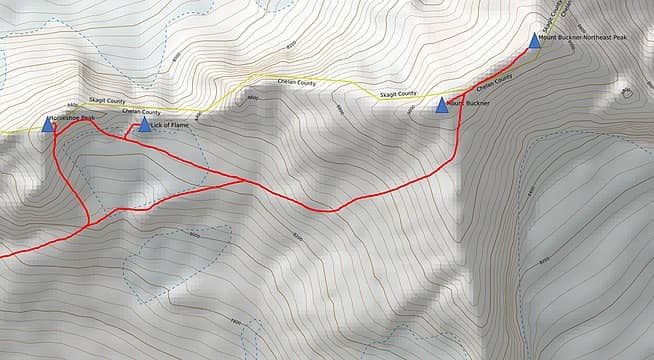 Detailed route 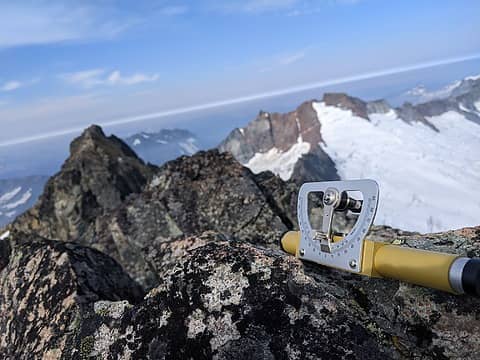 My 5x sight level on Buckner in September 2022 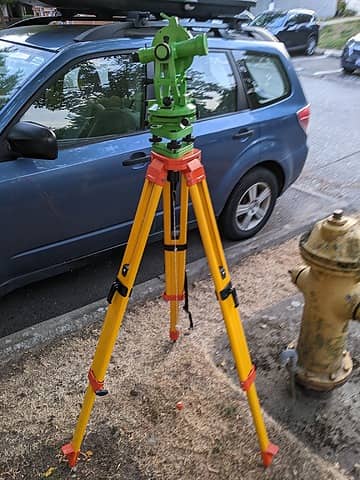 Testing the theodolite at home 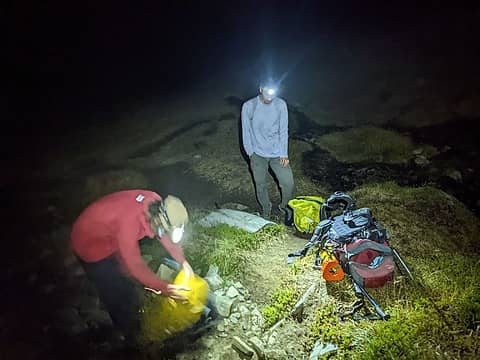 Hiking up Sahale Arm 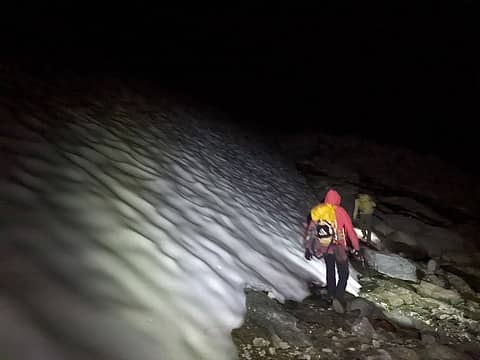 Traversing below the snowfield near Sahale Camp 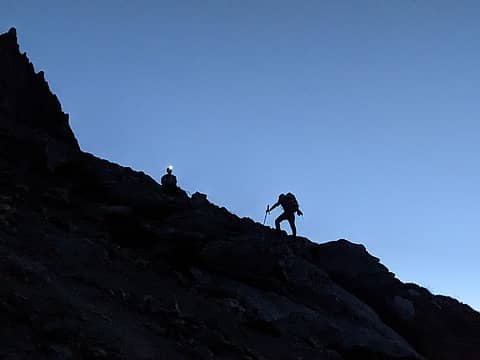 Hiking above the old mine 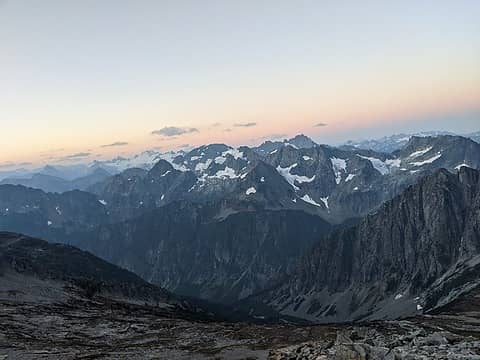 Looking across towards the ptarmigan traverse 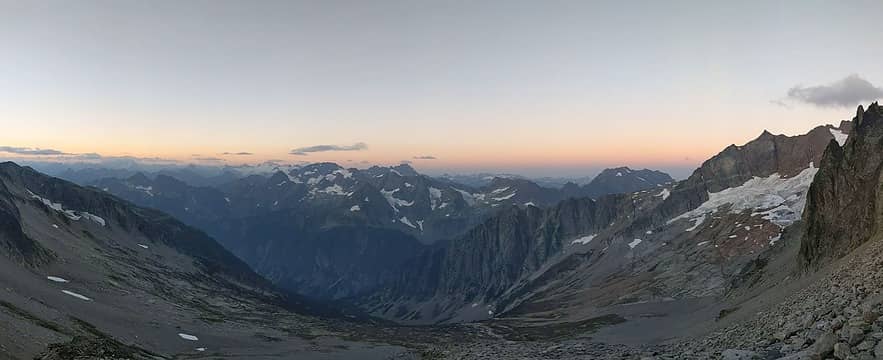 Horseshoe Basin at sunrise 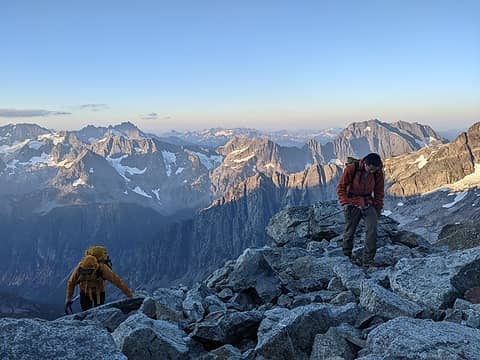 Scrambling up the talus 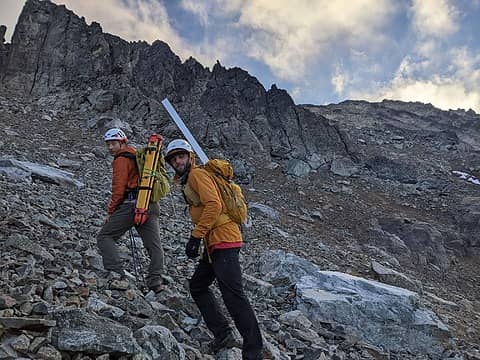 Hiking up the SW slope 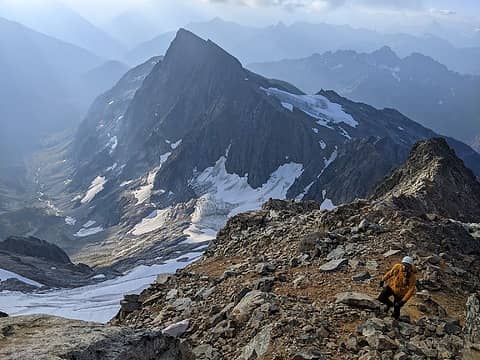 Nearing the SW summit, with Booker in the background 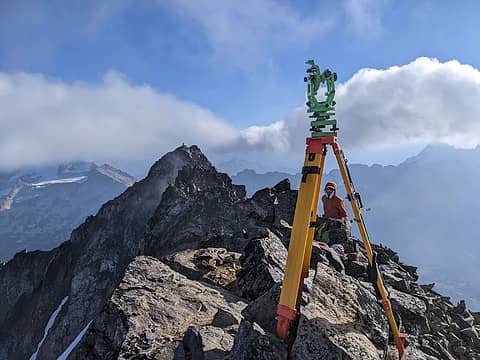 The setup on the SW summit 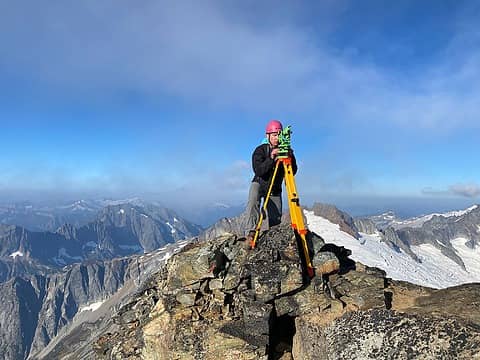 Taking measurements (photo by Steven) 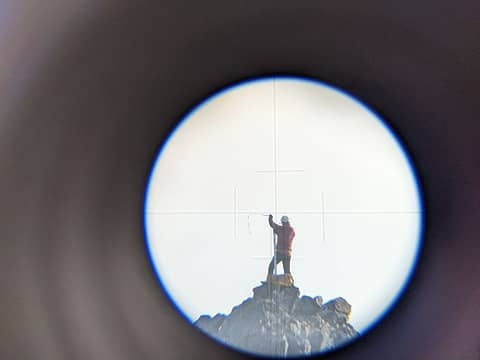 Looking at Talon on the NE summit through the scope 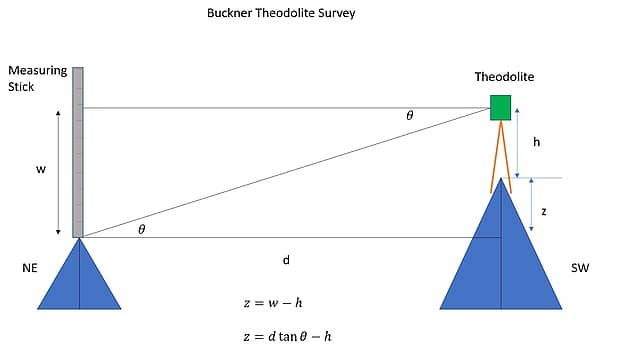 The measurement plan. I measured d, h, theta, w and calculated z, the height difference 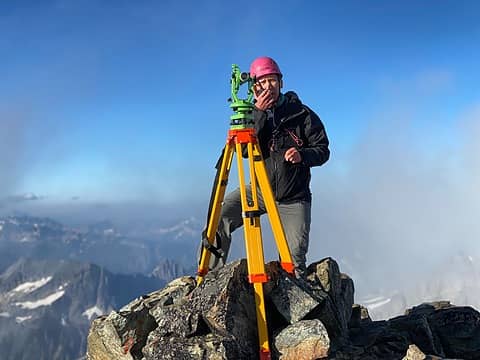 Radioing to Talon to coordinate (photo by Steven) 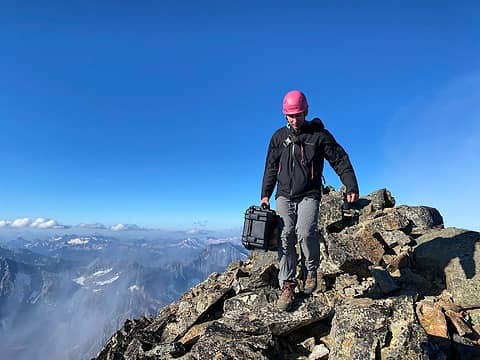 Packing up and leaving the SW summit 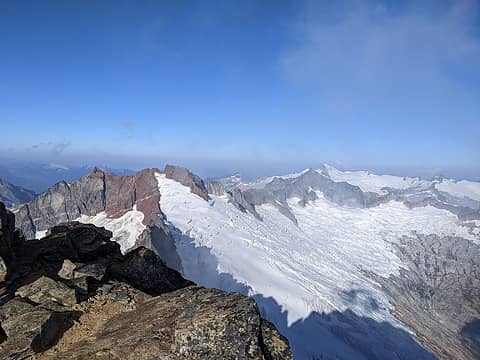 Nice views towards Boston and Forbidden 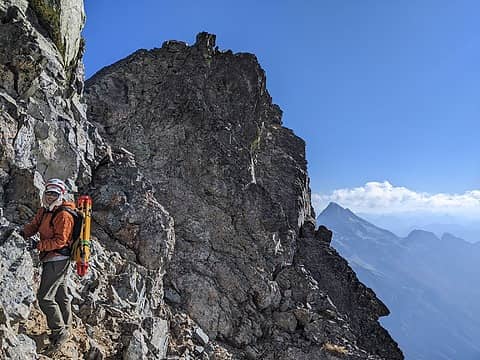 Scrambling to the NE summit 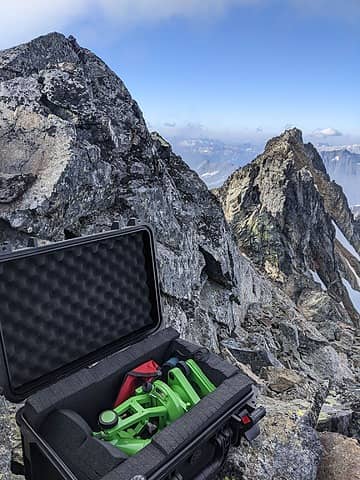 Setting up on the NE summit 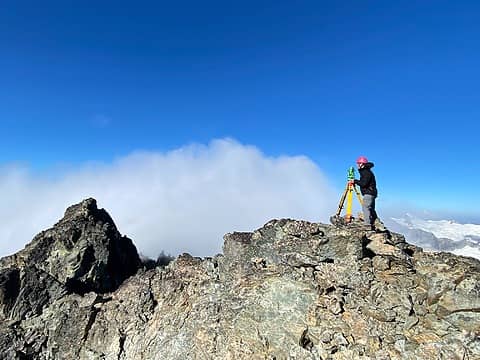 Taking measurements from the NE summit 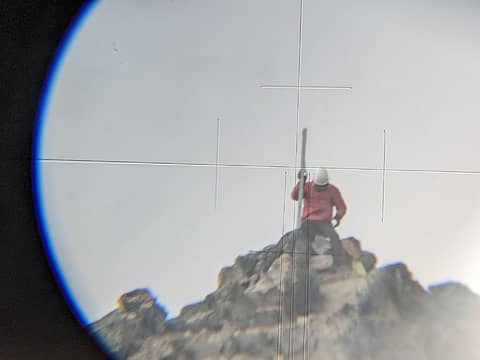 Looking at the SW summit through the cross hairs with 30x magnification 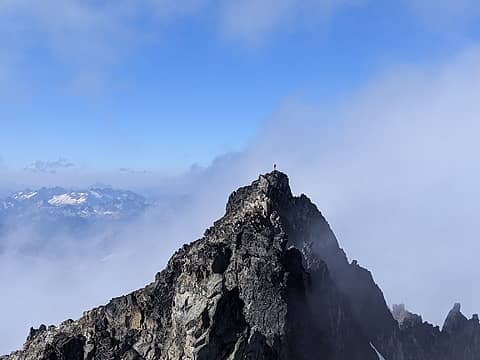 The view of the SW summit with no magnification 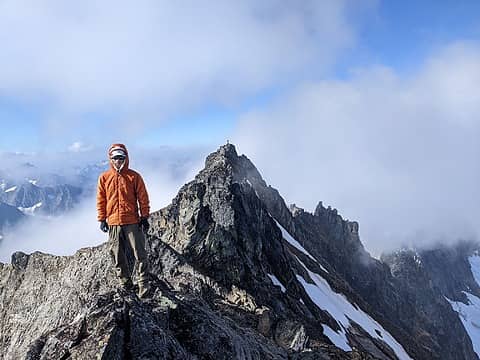 Steven on the NE summit 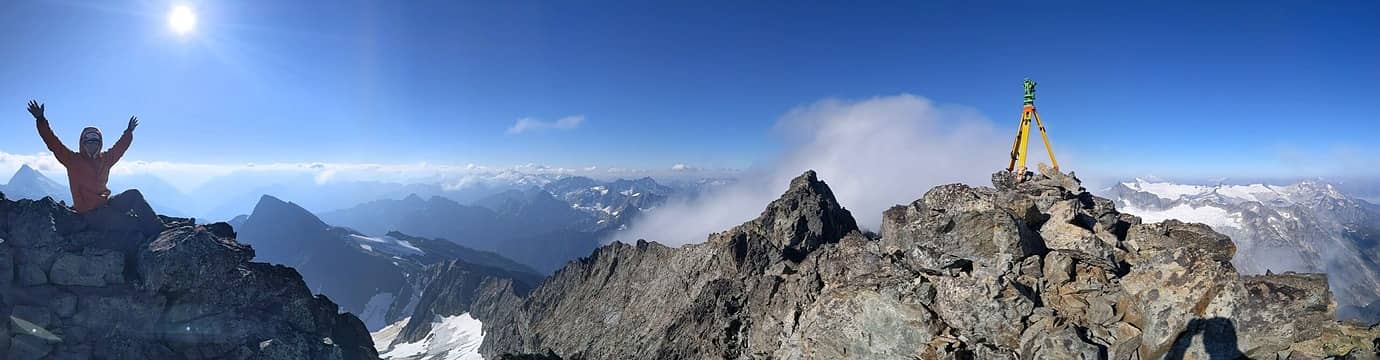 Panorama from the NE summit 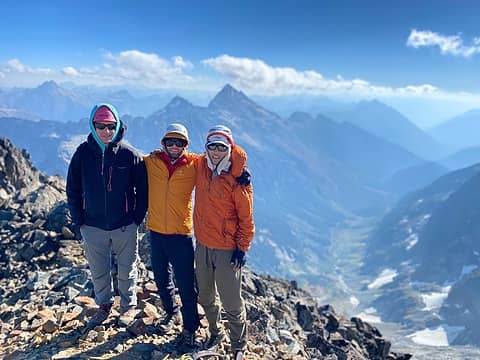 The team (photo by Steven) 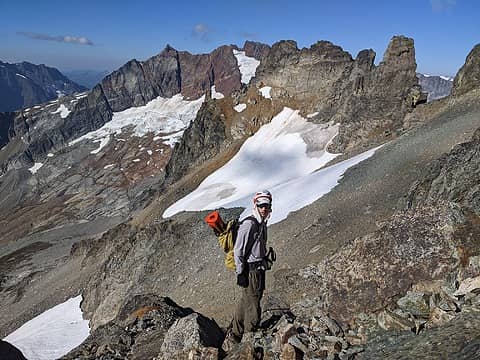 Heading towards the Lick of Flame 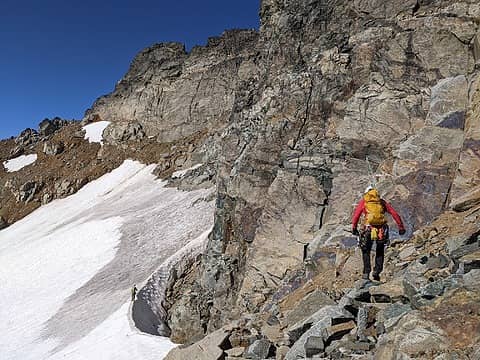 Traversing around the south side 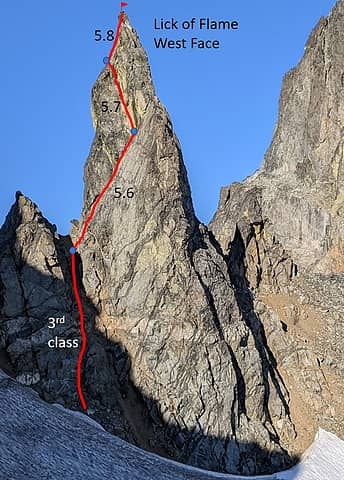 Our route up the west face 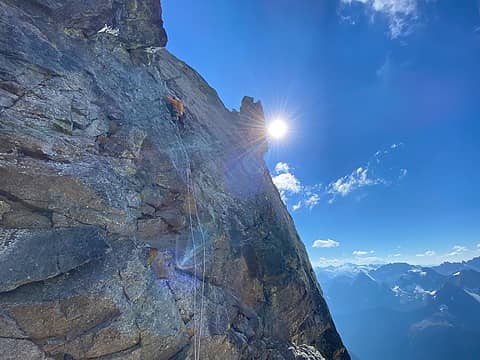 Talon leading the first pitch (photo by Steven) 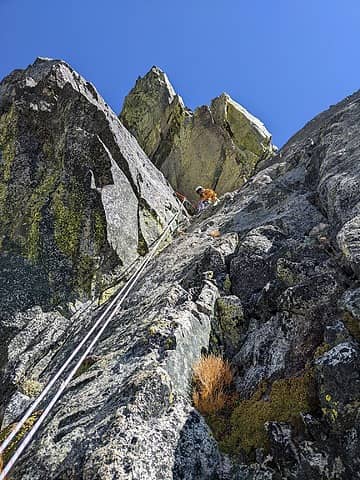 Climbing up to the first anchor 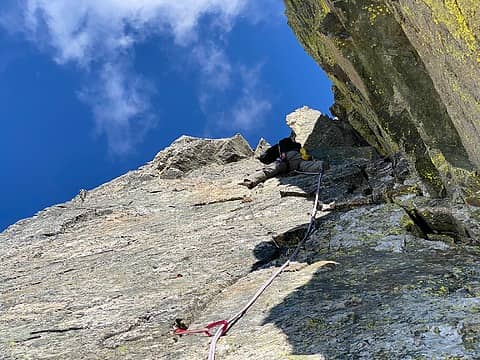 Me leading pitch 2 (photo by Steven) 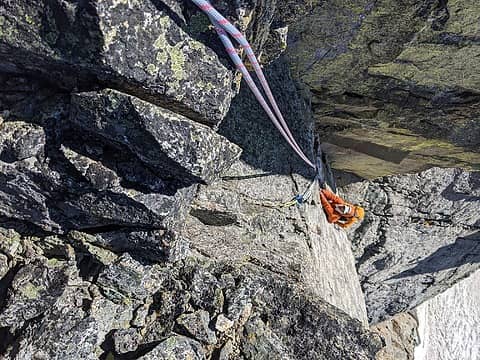 Steven and Talon following pitch 2 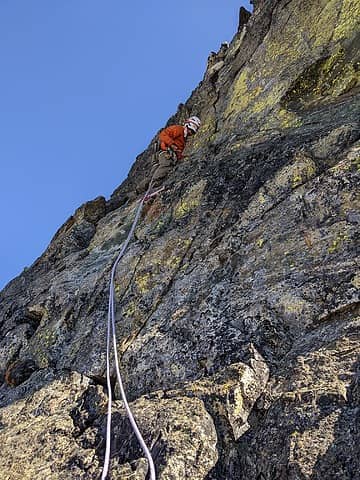 Steven leading the last pitch 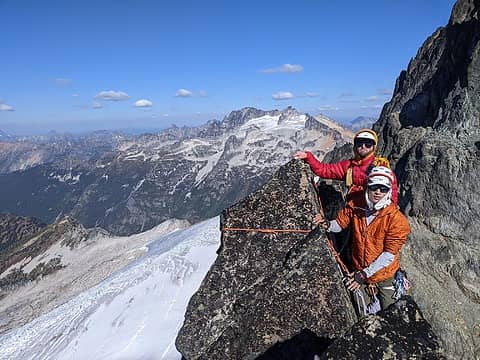 On the summit 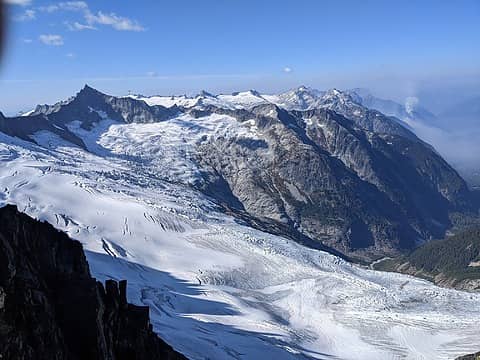 View of Boston Glacier, with a new fire starting in Thunder Creek 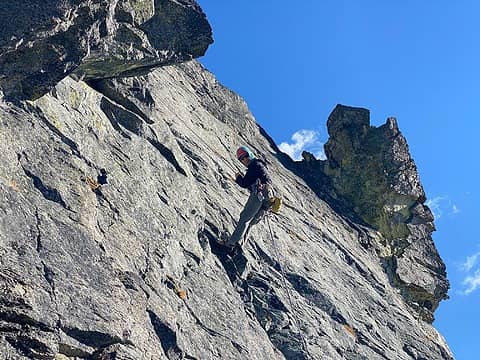 Rapping down (photo by Steven) 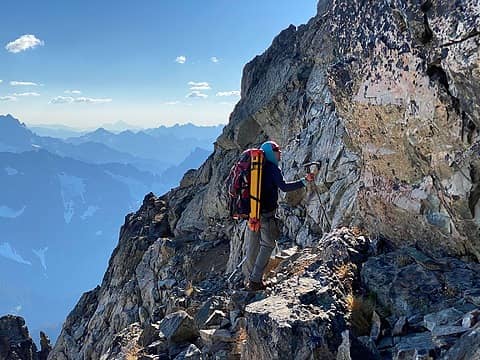 Approaching Horseshoe (photo by Steven) 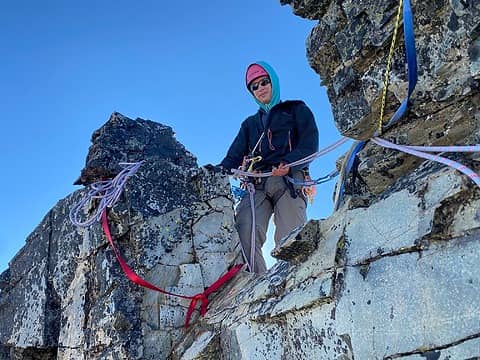 On the summit of Horseshoe 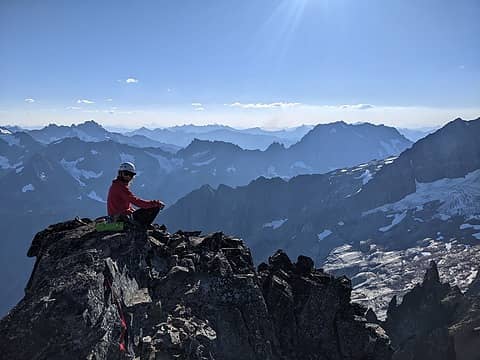 Talon on the summit  Last view of Lick of Flame (left) and Buckner (right) 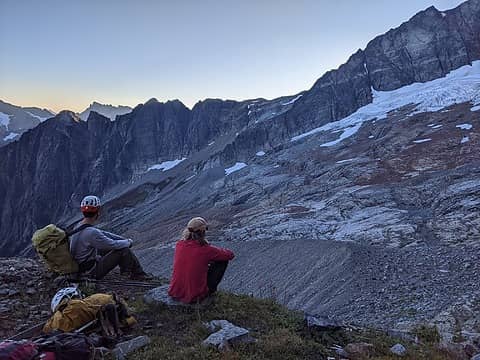 Crossing Horseshoe Basin 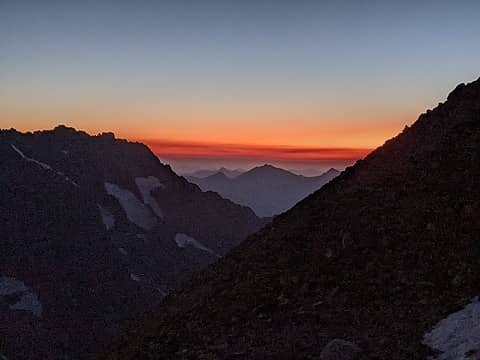 Sunset from Sahale Camp
 Pyrites, rubywrangler, Tom, ozzy, Frodo Barefoot, Bronco, wallorcrawl, jaysway, jstern, RAW-dad, hikergirl1234, yukon222, RichP, zimmertr Pyrites, rubywrangler, Tom, ozzy, Frodo Barefoot, Bronco, wallorcrawl, jaysway, jstern, RAW-dad, hikergirl1234, yukon222, RichP, zimmertr  ~*CutebutChossy69*~, awilsondc, Gimpilator, rstoddard24, GaliWalker ~*CutebutChossy69*~, awilsondc, Gimpilator, rstoddard24, GaliWalker  Matt Matt
Pyrites, rubywrangler, Tom, ozzy, Frodo Barefoot, Bronco, wallorcrawl, jaysway, jstern, RAW-dad, hikergirl1234, yukon222, RichP, zimmertr ~*CutebutChossy69*~, awilsondc, Gimpilator, rstoddard24, GaliWalker Matt |
| Back to top |
  
|
|
GaliWalker
Have camera will use
Joined: 10 Dec 2007
Posts: 4929 | TRs | Pics
Location: Pittsburgh |
|
GaliWalker
Have camera will use
|
 Tue Oct 04, 2022 8:32 am |
|
|
This comment is meant to be in jest... So how do you know that your tripod height was identical for both summits?  What a fun read! Such a lot of content.
|
| Back to top |
|
|
Bruce Albert
Member
Joined: 01 Sep 2007
Posts: 160 | TRs | Pics
|
Fascinating undertaking. Im struggling a bit with your conclusion (but not disagreeing with it). Did you close a level loop, and what was the error in closure? From what I recall, 1/5000 horizontal distance was the acceptable closure error for third order work.
After about two setups with a tribrach and optical plummet, few would ever use the plumb bob again.
|
| Back to top |
|
|
Stefan
Member
Joined: 17 Dec 2001
Posts: 5091 | TRs | Pics
|
|
Stefan
Member
|
Tue Oct 04, 2022 1:15 pm |
|
|
Now that is impressive. It sounds like you came very close to what LIDAR information says.....even though LIDAR may be off. If you are coming to the same conclusions....
Art is an adventure.
Eric Gilbertson
Art is an adventure.
Eric Gilbertson
|
| Back to top |
|
|
Roald
Member

Joined: 06 Aug 2007
Posts: 367 | TRs | Pics
Location: Seattle |
|
Roald
Member
|
Tue Oct 04, 2022 3:08 pm |
|
|
This is beyond cool. Makes me consider learning how to use some of these tools. Congratulations, and thanks for the info and description.
Eric Gilbertson
Eric Gilbertson |
| Back to top |
|
|
Eric Gilbertson
Member
Joined: 04 Jul 2018
Posts: 188 | TRs | Pics
Location: Seattle |
| Quote: | | So how do you know that your tripod height was identical for both summits? |
My method didn't rely on the tripod being the same height for both summits. I just needed to measure the height of the theodolite above each summit. Sorry I should have included more details about my method. I added this picture to the report now, which illustrates the variables I measured and what I calculated:
The measurement plan. I measured d, h, theta, w and calculated z, the height difference | Quote: | | Did you close a level loop, and what was the error in closure? From what I recall, 1/5000 horizontal distance was the acceptable closure error for third order work. |
I closed a very simple level loop that went from SW summit to NE summit then back to SW summit. I got a closure error of 6.99 inches. The acceptable closure error of 1/5000* horizontal distance would be 1/5000*600ft*12 in/ft *2 = 2.88 inches (I put that in my spreadsheet also). I suspect the higher error was from the theodolite not being as level on the SW summit as I would have liked. That was tricky because of the exposure. I bet a professional surveyor could get much less error. I'm definitely an amature. But my interpretation is the error is still small enough to not have any effect on the conclusion that the SW summit is higher, which is what most people care about anyways.
| Quote: | | Now that is impressive. It sounds like you came very close to what LIDAR information says.....even though LIDAR may be off. If you are coming to the same conclusions.... |
Yes, my result is very close to the LIDAR result, which is nice. I'm confident the SW summit is higher based on the data.
RichP, hikergirl1234, zimmertr
RichP, hikergirl1234, zimmertr |
| Back to top |
|
|
Eric
Peak Geek

Joined: 21 Oct 2002
Posts: 2062 | TRs | Pics
Location: In Travel Status |
|
Eric
Peak Geek
|
Tue Oct 04, 2022 10:46 pm |
|
|
Thanks for the effort to re-do Buckner twice (!) this year in the interest of determining which summit is highest. Your conclusion makes me especially appreciative as someone who did only the SW summit since it confirms no need to go back, though I imagine I'll be in the area sometime for Booker at least. I am sure there are many other Bulger climbers and other peakbaggers who are gratefully for your work too!
|
| Back to top |
|
|
GaliWalker
Have camera will use
Joined: 10 Dec 2007
Posts: 4929 | TRs | Pics
Location: Pittsburgh |
|
GaliWalker
Have camera will use
|
Wed Oct 05, 2022 5:35 am |
|
|
| Eric Gilbertson wrote: | | ... I then calculated z using the equations in that image. |
Ahhh, perfectly clear!  And even if the Google Earth measurement of d wasn't the most accurate - and I don't know how much error this has - your method should still be good enough in saying which peak is higher (as long as the theodolite was set up correctly, as you note).
|
| Back to top |
|
|
SeanSullivan86
Member
Joined: 25 Jul 2009
Posts: 681 | TRs | Pics
Location: Seattle, WA |
Cool. Snoqualmie Mountain and Guye Peak could use this treatment.
Are you willing to speculate about which of these summits on Buckner is at more risk of losing height soon? Also, any ambiguity about detached blocks at the summit influencing the height? You mentioned a "boulder pile".
|
| Back to top |
|
|
Eric Gilbertson
Member
Joined: 04 Jul 2018
Posts: 188 | TRs | Pics
Location: Seattle |
| Quote: | | Are you willing to speculate about which of these summits on Buckner is at more risk of losing height soon? Also, any ambiguity about detached blocks at the summit influencing the height? You mentioned a "boulder pile". |
The SW summit had a huge boulder on top. I think you would need a lot of strong people with rock bars to budge that thing. I don't see any risk of that moving any time soon. It may even be attached at the bottom to the rest of the mountain.
I recall the NE summit rock was connected to the rest of the mountain, but there was one big rock next to it that would be too big to lift, and a few smaller ones around it. The rock connected to the mountain was the highpoint I recall, so there doesn't seem much risk of either height changing any time soon.
|
| Back to top |
|
|
Bruce Albert
Member
Joined: 01 Sep 2007
Posts: 160 | TRs | Pics
|
Thank you for posting your data and your methods. I have just a couple of more thoughts:
I think your results confirm which is the higher of the two summits, and I applaud the work you went to to do the research. I also think the results are a lot less conclusive as to just how much the height difference is.
I think there's clearly an issue with your 'precarious' setup on the SW summit, because of the large variation in your results. In land surveying it was pretty standard to turn angles twice - then reconciled in software - but the software also rejected shots where the difference between shot one and shot two exceeded a preset value. A large difference between values which should be equivalent screams that something is funky; it is not enough to take the mean and drive on.. I haven't climbed Buckner, but is it possible there is a good instrument setup location a short distance from the summit to which one could transfer an HI and proceed?
Being an engineer, not a surveyor, are you familiar with instrument technique, e.g. one hand only on the instrument with the lightest touch possible? A two handed grip or firmly grasping manner is apt to really raise hell.
Feel free to restrain your self on decimal precision. 0.01 ft being just under an eighth of an inch more digits to the right of the decimal are just overkill.
Your trig leveling method relies for accuracy on a horizontal distance not measured or (apparently) verified. It may be entirely accurate or it may not. People get into trouble with this all the time looking at assessor's aerial photos, thinking they are accurate to show property lines when in fact there are these massive parallax distortions. And yes, with the tangent of very little being almost nothing it would take a significant error in horizontal or slope distance to really blow the result out of the water.
A lightweight target, just a square with contrasting quadrants capable of sliding up and down whatever you're using as a rod would make shots at that distance easier to make with greater accuracy.
And lastly, a project like yours begs for a total station and a good prism. Good used units are available for reasonable $$$ and the weight isn't really that much more. If you've an interest in other such research projects I bet you'd be glad you picked one up.
Anyhow, hoping you don't feel sniped at by all this; I thought it was really cool how sort of started from scratch and did all that.
hikerbiker
hikerbiker |
| Back to top |
|
|
scottk
Member
Joined: 09 Jul 2013
Posts: 47 | TRs | Pics
|
|
scottk
Member
|
Thu Oct 06, 2022 1:12 pm |
|
|
Now that we have the answer everyone likes, people should stop researching this question. Furthermore, everyone should start adding rocks to the SW summit.
|
| Back to top |
|
|
Bruce Albert
Member
Joined: 01 Sep 2007
Posts: 160 | TRs | Pics
|
| scottk wrote: | | Now that we have the answer everyone likes, people should stop researching this question. Furthermore, everyone should start adding rocks to the SW summit. |
Or trundling them from the other one.
The path to the answer is what intrigues. The answer itself is what it is; all that matters is that you found it and were correct. It's not like Beatles vs. Stones where like and dislike matter.
But yeah, I could move on.
|
| Back to top |
|
|
|
|
You cannot post new topics in this forum
You cannot reply to topics in this forum
You cannot edit your posts in this forum
You cannot delete your posts in this forum
You cannot vote in polls in this forum
|
Disclosure: As an Amazon Associate NWHikers.net earns from qualifying purchases when you use our link(s). |


